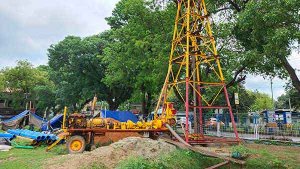
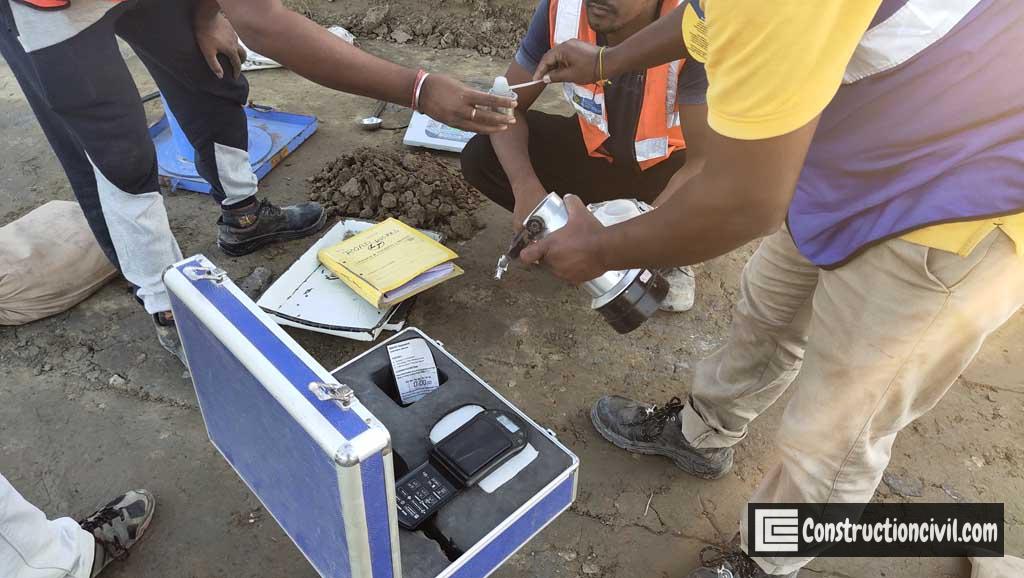
The main objective of the geotechnical exploration and laboratory test on soil is to find out the probable subsurface conditions like stratification, denseness or hardness of the soil strata, the status of groundwater table etc. and to assess the likely range of safe bearing capacity for the structure. The work is comprised of collecting soil samples, defining their physical and engineering properties and analyzing all field and laboratory bearing capacity of the soil. Laboratory test on soil generally should help to provide the following:
- Suitability of foundation types (shallow/deep)
- The allowable load capacity of the foundation
- Settlement predictions
- Identification and probable solution of construction problems
- Effect on adjacent property/structure
- Environmental issues and their solution
Also, Read: SPT Test for Soil Procedure, Refusal Conditions & Correction
Types of Laboratory Test on Soil:
Field Dry Density and Natural Moisture Content:
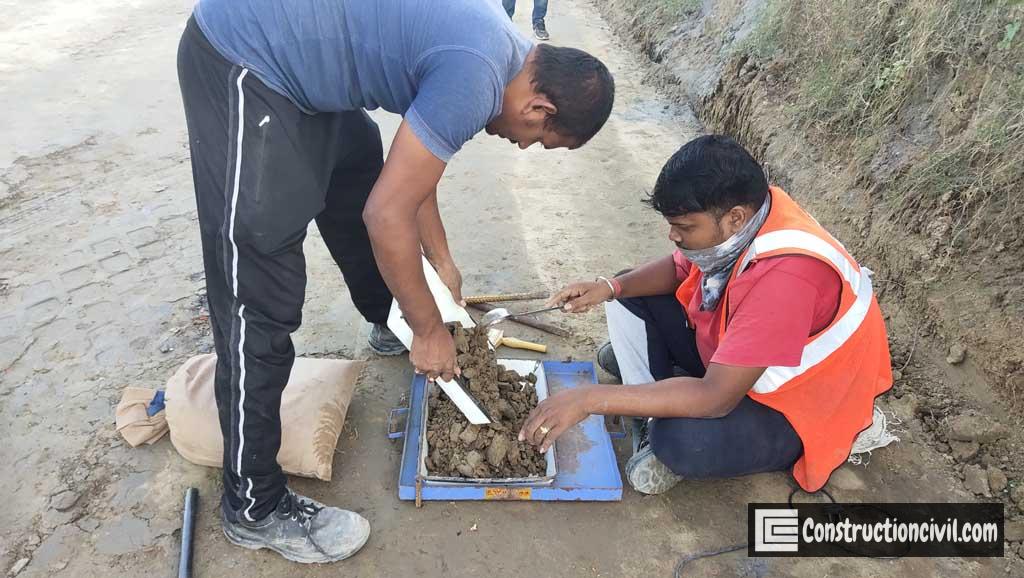
The moisture content test on soil is the most commonly used laboratory test on soil. The moisture content of soils with other test data provides essential information regarding soil characteristics.
Test Procedure:
- The weight of the undisturbed soil sample with a sampler (Shelby tube) is obtained after removing paraffin wax and loose material.
- The length of the soil sample is obtained after deducting the empty length from the entire length of the sampler.
- The volume of the soil sample is calculated from the sampler’s associated inside diameter and the sample’s length.
- After that, the soil mass is removed, and the average moisture content is defined by keeping the soil sample along with the container in the oven at 100°C-105°C for twenty-four hours.
- The weight of soil mass is obtained after deducting the empty weight of the sampler.
- % moisture content (MC) = (weight of moist soil mass-weight of dry soil mass)/weight of dry soil mass
- Field bulk density = (weight of soil mass/volume of the soil mass) gm/cc
Also, Read: Vertical Pile Load Test Procedure – Kentledge Method
Objective:
By conducting the above laboratory test on soil, we can find the field density, but the moisture content can vary and hence the field density also. So, it is necessary to report the test result in terms of dry density. The relationship that can be established between the dry density with known moisture content is as follows:
Dry density = {(Field bulk density/ ( 1+ water content )} gm/cc
Particle Size Analysis:
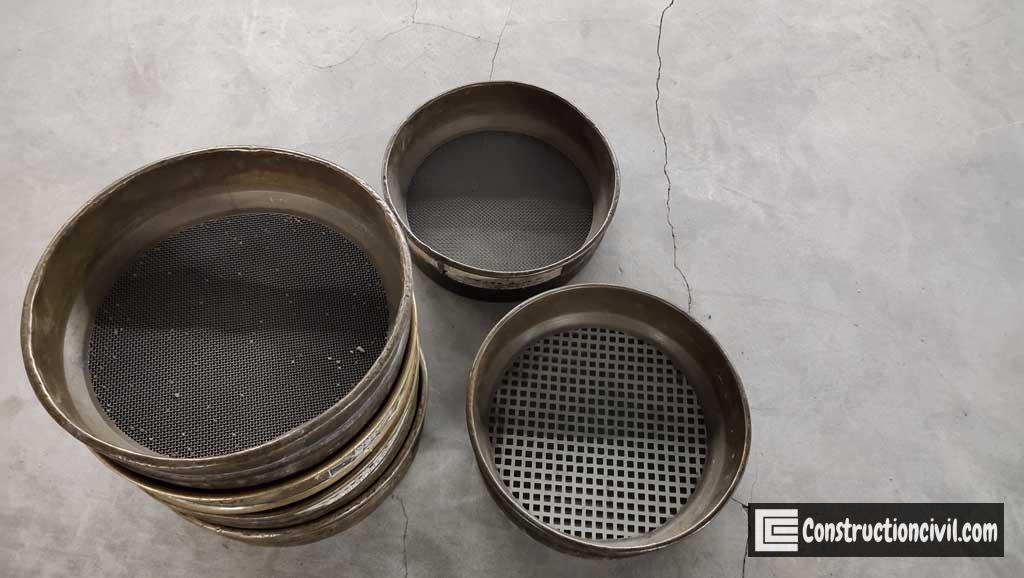
The above laboratory test on soil is carried out by sieve analysis as per IS: 2720 (Pt-Iv) for soil particle size analysis. The results are developed in the form of grain size(i.e., gravel, sand, silty clay, etc.) distribution curve. The representative soil sample is obtained from the bulk soil sample collected or obtained from the site, and the sample quantity varies depending on the maximum size of particle present in the soil.
Particle Size Analysis Test Procedure:
- Wash a prepared representative soil sample through a series of sieves as per technical specifications.
- The portion retained on each IS sieve is collected, dried and weighed to determine the percentage of material passing through the sieve.
- Soil fraction retained on 4.75mm IS sieve:
- Soil sample retained on 4.75mm IS sieve is weighed.
- After that, the sample is separated into various fractions by sieving through 100 mm, 75 mm and 19 mm.
- The mass of the soil material retained on each sieve will be recorded.
- Then the percentage of soil retained on each sieve is calculated based on the total mass of the sample.
- The percentage of passing through each sieve is calculated with the help of the above data.
- Soil Fraction Passing Through 4.75mm IS sieve:
- The part of the soil passing through a 4.75 mm IS sieve is oven-dried at 105°C-110°C.
- The portion is coned and quartered to obtain the required representative quantity of the material.
- The material is weighed and placed in a container filled with water for soaking and loosening the adhered cohesive soil materials.
- After soaking, the soil specimen is then washed in 75 microns IS sieve until the water passing through the sieve is almost transparent.
- The material retained in 75 microns IS sieve is then transferred to a tray and dried in the oven.
- After that, sieve analysis is carried out on a nest of sieves (2.0 mm, 425 microns, and 75 microns IS sieve) manually or using a mechanical sieve shaker.
- The fraction retained on each IS sieve is weighed individually and has to be recorded.
- The weights are then transformed into cumulative percentage retained and passing based on the mass of the sample passing through a 4.75 IS sieve.
- The combined gradation concerning the total soil sample taken for analysis is finally calculated.
Also, Read: Determination of Sieve Analysis For Fine Aggregate
Particle Size Analysis Objective:
Particle Size Analysis is used to determine the textural classification of soils which helps evaluate the engineering characteristics such as permeability, strength, swelling potential, and susceptibility to frost action.
Also, Read: Lateral Load Test Pile – General Arrangement & Procedure
Atterberg’s Limit Tests on Soil:
The above laboratory test on soil gives general indices of moisture content relative to the consistency and behavior of soils. The moisture content is varied to distinguish three stages of soil behavior in terms of consistency. The stages are as follows:
Liquid limit (LL):
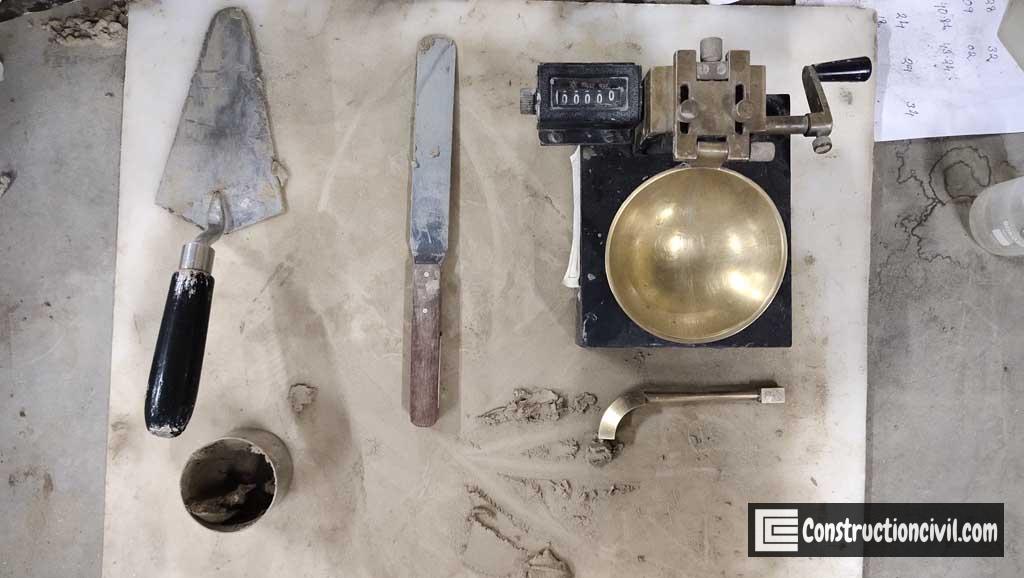
The liquid limit (LL) is defined as the water content at which 25 blows of the liquid limit machine closes a standard groove cut in the soil past for a distance of 12.7 cm. Sometimes the fall cone device is used for the test to obtain better repeatability.
Liquid Limit by Casagrande Method:
- First, for this laboratory test on soil, add distilled water into an evaporating dish containing 250 gm of an air-dried soil sample passing through a 425 mm sieve mixed thoroughly to make a uniform paste.
- Place a part of the paste in the cup of the Casagrande Liquid limit device and spread it with the help of a few strokes of a spatula.
- Trim it to a depth of 10mm at the point of maximum thickness and return the excess soil to the dish.
- With the help of a grooving tool, cut a groove along the center line of the soil pat so that a clean and sharp groove of dimension 11.0mm wide at the top, 2.0mm at the bottom and 8.0mm deep is formed.
- Lift and drop the cup by rotating the crank at two revolutions/second until the two halves of the soil cake come together for a length of about 13 mm by flow only, and record the number of blows, denoted by N.
- A representative portion of soil can be taken from the cup for a moisture content test.
- This laboratory test on soil shall be carried out at least four more times for different moisture contents for blows between 10 and 40.
Also, Read: Integrity Test of Pile – Purposes, Procedure & Limitations
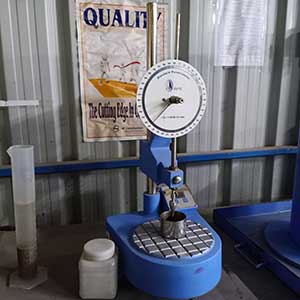
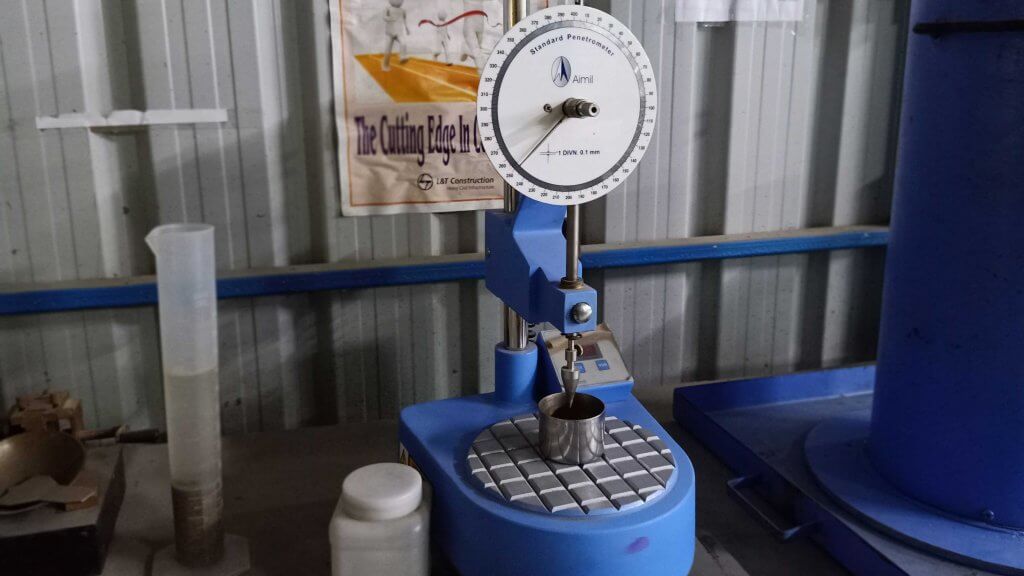
Liquid Limit by Cone penetrometer Method:
- Add distilled water into an evaporating dish containing 150 gm of an air-dried soil sample, pass through a 425 mm sieve, and mix it thoroughly to make a uniform paste.
- The Soil paste is then transferred to the circular trough, 150mm in diameter and 50mm high of the cone penetrometer apparatus and levelled up to the top of the trough.
- The penetrometer is set such that the cone point touches the surface of the soil paste in the trough.
- After fixing the penetrometer scale to zero, loosened the vertical rod.
- The cone penetrates the soil sample due to its self-weight.
- Record the penetration after 30 seconds from the release of the cone, and the reading is considered if the penetration value is 20-30mm. The moisture content of the sample corresponding to the above is calculated. The liquid limit of the sample corresponds to the moisture content, which would provide a 25 mm penetration of the cone, which is defined.
Also, Read: Geotechnical Investigation Objectives and Guidelines
Plastic Limit (PL):
The plastic limit is the water content at which a thread of soil sample paste will crumble when rolled down to a diameter of three millimeters.
Plastic Limit (PL) Test Procedure:
- For the above laboratory test on soil, 20 gm of soil sample passing through 425micron IS sieve is completely mixed with water such that it can be easily moulded with fingers.
- 8.0-10.00 gm of sample is rolled with the help of fingers on the glass plate with adequate pressure to turn the mass into a uniform diameter thread of 3.00mm throughout its length.
- Repeat the process until the thread crumbles. The moisture content of crumbled soil thread pieces is checked and reported as a plastic limit.
Shrinkage Limit (SL):
The shrinkage limit is known as that water content below which no further soil volume change occurs with further drying.
Objective:
Atterberg’s Limit test aims to define the consistency and plasticity of fine-grained soils with varying degrees of moisture.
Specific Gravity(G) Tests on Soil:
Specific gravity is a weight ratio between the weight of the soil sample to the weight of equal volume of distilled water at the same ambient temperature.
Specific Gravity(G) Test Procedure:
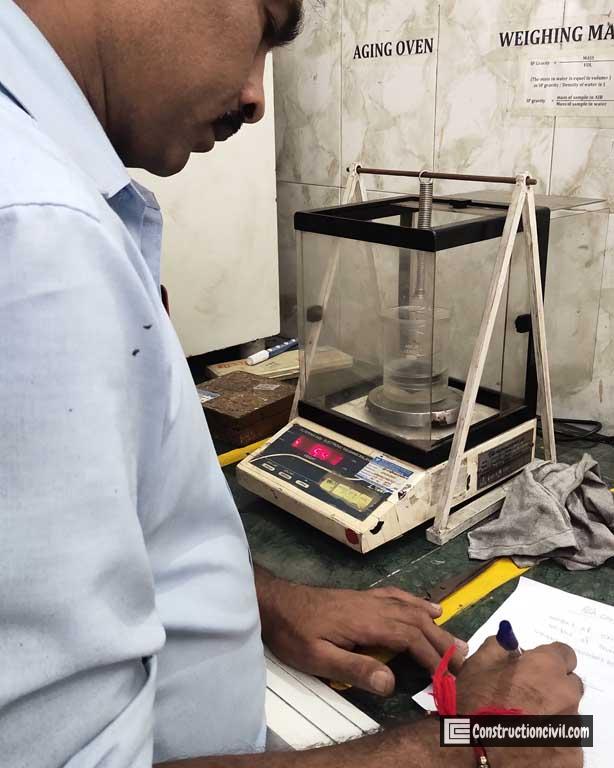
- The weight (W1) of an empty density bottle of 50ml capacity is taken for the above laboratory test on soil.
- 10-20gm of an oven-dried soil sample is taken and cooled in a desiccator.
- After that, put the soil sample into the bottle and the weight (W2) of the bottle.
- Then the bottle with sample is filled with distilled water, gradually removing the entrapped air ether by applying a vacuum or shaking the bottle.
- The weight (W3) of the bottle with soil and water filled up to the top is taken.
- Finally, the bottle is emptied and thoroughly washed.
- After that, cleaned water is filled up to the top, and the weight (W4) is recorded.
- The equation from which we can determine the specific gravity of the soil sample is as follows:
- Specific Gravity (G) = {(W2-W1) / (W2-W1)-(W3-W4)}
Test Objective:
The specific gravity is essential for the calculation of soil properties like void ratio, degree of saturation etc.
Also, Read: Soil Reinforcement Methods – Advantages and limitations
Shear Tests on Soil:
Undrained Unconsolidated Triaxial Laboratory Test on Soil:
The shear tests are carried out as per IS: 2720 (part X, XI, XII and XIII) on saturated soil. The undrained triaxial test is a compression test in which the soil sample is first subjected to isotropic all-around pressure in the triaxial cell before failure. In the case of undrained unconsolidated triaxial test the laboratory test on soil performed with or without pore pressure measurement, although for most cases, pore pressure measurement is acceptable.
Undrained Unconsolidated Triaxial Laboratory Test on soil Procedure:
- The undisturbed soil sample having a diameter of 38.00mm and a height-to-diameter ratio of two is made and placed on the pedestal of the triaxial cell.
- After carefully assembling the cell, the sample is placed in the loading machine, and the ram is placed on the top.
- The cell must be uniformly clamped down to prevent pressure leakage during the test and ensure the sample is properly sealed.
- The cell fluid is admitted to the cell, and the pressure is increased up to the desired value.
- During the test, necessary adjustments to the pressure gauge must be made to keep the pressure constant.
- A first reading of the gauge measuring axial compression of the specimen is recorded.
- Then the test is started, and a sufficient number of contemporary load and compression measuring gauge readings are taken.
- The test is extended until the maximum stress, or twenty per cent of axial strain, has been reached.
- Further tests are carried out on identical specimen at confining pressure of 1.0 kg/cm2, 2.0 kg/cm2 and 3.0 kg/cm2.
- The shear parameters are taken from the plot of Mohr circles.
Objective:
Triaxial laboratory test on soil is necessary for strength characteristics, including detailed knowledge of the effects of lateral confinement, drainage, porewater pressure and consolidation. It helps to determine the friction angle of natural clays, silts, and reconstituted sands.
The direct shear tests on soil:
The angle of friction and cohesion of the soil plays a significant role in the design of structure foundations, retaining walls, slab bridges, pipes, and sheet piling. Direct shear test is conducted to determine the above parameters quickly.
Direct Shear Laboratory Test on soil Procedure:
- The following laboratory test on soil is carried out using a shear box split in the horizontal plane with a specimen of dimension 60.00mm x 60.00mm.
- A plain grid plate placed at the top and bottom of the sample is fitted into position in the shear box housing, and assembly is kept on the loading frame.
- Place the soil in even layers(approximately 10 mm thick). If a dense sample is desired, tamping is necessary.
- The serrations of the grid plates are placed at a right angle in the direction of shear.
- The loading pad is kept on top of the grid plate.
- Add 5 kg of normal stress at a pressure of 0.5 kg/cm2 and continue the experiment till failure. The rate of longitudinal displacement is so adjusted that no drainage can occur from the sample during the test(1.25mm/min).
- The shear box’s top part is so lifted that a gap of about 1.00mm is left.
- The test is performed by applying a horizontal shear force to failure or to 20% longitudinal displacement, whichever occurs first.
- Record all the readings carefully.
- The test is repeated on identical specimens; Set the dial gauges to zero before starting the experiment.
Objective:
The direct shear test is an important laboratory test on soil, and the test is necessary to determine the shear strength of soil.
Also, Read: Vibroflotation, Blasting & Dynamic Compaction – Ground Improvement
Consolidation Tests on Soil:
The consolidation test is carried out on undisturbed soil specimens to determine the settlement characteristics of soil at different depths. The above laboratory test on soil is conducted per the guidelines in IS 2720 (Part-XV).
Test Procedure:
- An undisturbed soil sample is extruded to the consolidation ring of 60.0 mm diameter, and the edge is trimmed carefully so that the sample flushes with the top and bottom edges of the consolidation ring.
- The thickness and weight of the soil sample are measured and recorded.
- The porous bottom stone is then centred on the base of the consolidation cell.
- The sample is placed centrally between the porous bottom stone and the upper porous stone.
- A filler paper is provided with an in-between sample and porous stones.
- After that, the loading cap is placed on the top.
- The consolidometer is placed in a position in the loading arrangement and suitably adjusted.
- Then the dial gauge is fitted into position to record the relative movement between the base of the cell and the loading cap.
- An initial seating pressure of 0.05 kg/cm2 is applied to the soil sample, and the test cell is kept filled with water.
- After 24 hours, the test is continued using a loading sequence on the soil sample of 0.25, 0.50, 1.00, 2.00, 4.00 and 8.00 kg/cm2. For each load increment, the dial gauge readings are taken in the following time interval of 0, 0.25, 1.00, 2.25, 2.00, 6.25, 9.00, 16.00, 25.00, 36.00, 49.00 up to 24.00 hrs.
- The void ratio versus log (pressure) curve is obtained from the observations of all increments. The slope of the straight-line section is designated as the compression index(Cc).
Objective:
Mentioned laboratory test on soil is conducted to determine the rate of consolidation under normal load, degree of consolidation at any time, pressure-void ratio relationship, coefficient of concentration and compression index, which helps to predict the time rate of settlement of structures.
Also, Read: PVD Drain Installation for Ground Improvement
Differential Free Swell Tests on Soil:
Swelling is a natural reaction of some clays to saturation, and the potential for swell depends on the mineral composition of the soil. Montmorillonite (bentonite) shows a high degree of swell potential, whereas kaolinite exhibits almost none. A differential free swell test is carried out to determine the swelling characteristics of the soil.
Test Procedure:
- Two specimens of 10g each, oven-dried and passing through 425 microns, is poured into two 100ml graduated cylinder separately.
- One cylinder is filled with pure distilled water and another with kerosene up to the 100ml mark.
- After removing entrapped air, the sample is allowed sufficient time to attain an equilibrium state of the volume.
- Finally, the volume of soil in each cylinder is recorded.
- Differential Free swell (%), (Sp) = {(Soil volume in water – soil volume in kerosene) / (Soil volume in kerosene)} x 100
Objective:
The above laboratory test on soil is performed to estimate the swell potential of (expansive) soils.
Apart from the design aspect, geotechnical exploration and laboratory tests on soil are essential to obtain sufficient data for feasibility and economic considerations for a project. Minor structures are sometimes designed without site exploration and soil tests; however, the practice is not recommended.
Also, Read: Major Role of Ground Improvement in The Structure Foundations
